DTF transfers have changed how small brands and Etsy sellers decorate hoodies, but pressing them correctly is still where prints succeed or fail. Get the basics right and you’ll get vivid color, soft hand, and durability every time. In this guide I’ll walk you through practical, tested dtf heat press settings for hoodies, troubleshooting tips, and workflow tweaks for faster same-day turnaround.
Start with clean, prepped garments and a consistent press routine. Hoodies bring thickness, seams, and zippers into the equation, so we’ll cover backing, platen pressure, and simple fixes that save ruined prints.
Why correct DTF press settings matter for hoodies
Hoodies are thicker and stretch differently than T-shirts, so the wrong temperature or pressure can cause peeling, cracking, or poor adhesion. Correct settings deliver:
- Vivid, saturated colors with consistent opacity, especially on dark fabrics
- Soft hand feel, no stiff or plasticky finish
- Long-lasting adhesion through washes and wear
- Faster production with fewer misprints and less rework
Here’s how to set up your press for consistent results.
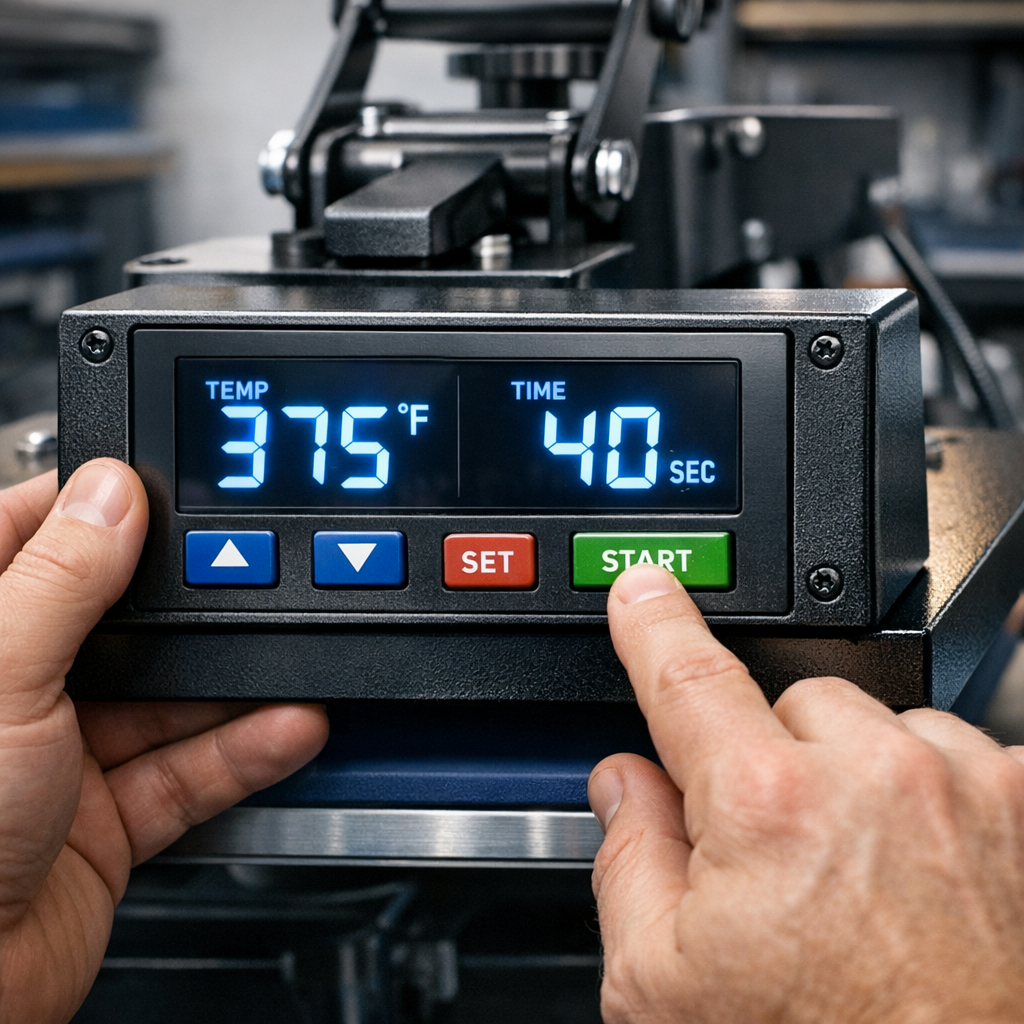
Recommended DTF heat press settings for hoodies
These are starting points that work across most DTF transfer films and inks. Always test a sample before running a full batch.
Basic settings (thicker cotton/poly hoodies)
- Temperature: 320 to 330°F (160 to 165°C)
- Time: 12 to 18 seconds
- Pressure: Medium to medium-high (firm contact with no crushing)
- Peel: Warm peel (peel when transfer is slightly warm to touch)
Lightweight hoodies and poly blends
- Temperature: 300 to 310°F (150 to 155°C)
- Time: 10 to 15 seconds
- Pressure: Medium
- Peel: Warm peel
Heavy or lined hoodies (fleece, double-layer)
- Temperature: 330 to 350°F (165 to 175°C)
- Time: 15 to 20 seconds
- Pressure: Medium-high, but watch seams and zippers
- Peel: Warm to hot peel depending on film instructions
Step-by-step pressing workflow for clean results
- Preheat the hoodie for 2-4 seconds to remove moisture and flatten nap.
- Position the DTF transfer, use heat-resistant tape if needed around seams or zipper.
- Use a silicone or Teflon sheet over the transfer if your film recommends it, otherwise a clean cover sheet is fine.
- Press following the temperature/time guidelines for your fabric weight.
- Peel according to the film instructions: most DTF films require warm peel for best adhesion on hoodies.
- Finish with a quick final press through a cover sheet for 2-4 seconds to lock the print.
Pressure tips and avoiding common hoodie problems
- Too little pressure, and the print won’t bond on textured fleece. Too much pressure can compress the fabric and force adhesive through the garment.
- If pressing near a zipper, use a small strip of silicone or press-block around the zipper to protect the transfer.
- For seams, slightly offset the transfer away from bulky stitching, or use a secondary, short press to ensure edges adhere.
- Test washability by laundering a sample after 24 hours. If you see edge lift, increase temperature by 5°F or extend time by 2–3 seconds.
Material-specific notes
- Cotton: responds well to slightly higher temps and shorter times; watch for scorching on dark fabrics.
- Polyester or poly blends: lower temp prevents dye migration and scorching.
- Fleece: raise pressure slightly and consider a hot peel for deeper nap.
Quality control checklist for batch runs
- Print a test print for every substrate type and color.
- Record your press settings on every job ticket.
- Inspect edges with a light tug test before packing.
- Use consistent pressure settings per press model, different machines vary widely.
Troubleshooting
- White ink cracking after wash: increase final press time and pressure slightly, confirm correct curing.
- Dull colors on dark hoodies: check film opacity and ensure adequate initial press temperature.
- Sticker-like feel: reduce press time or temperature a few degrees, or switch to a softer adhesive film.
Tools and supplies that make hoodies easier
- Heat press with accurate digital controls and even platen heat
- Silicone pad or foam for uneven surfaces
- Heat-resistant tape for positioning
- Cover sheets (silicone or Teflon) to prevent shine
FAQs
What temperature should I use for DTF on a cotton hoodie?
Start around 320 to 330°F for most cotton hoodies, with 12 to 18 seconds and medium pressure. Test on a scrap or inside seam first.
Should I use a hot or warm peel on hoodies?
Most DTF films for apparel recommend a warm peel, but heavier fleece may need a hot peel. Follow the film manufacturer, then test.
Can I press over zippers and pockets?
Avoid direct contact with zippers. Use a silicone strip or press-block to protect both the zipper and the transfer when necessary.
How do I prevent cracking on stretch fabrics?
Use lower temperature, slightly longer time, and medium pressure. Choose a DTF film formulated for stretch or elastane blends.
Do you need to preheat hoodies before pressing?
Yes, preheating 2–4 seconds removes Moisture and flattens the nap for better first contact.
What if my press gives inconsistent heat?
Verify platen temperature with an infrared gun, map the platen for hot/cold spots, and adjust positioning or use a press with proven even heating.
Are DTF settings different for glitter or specialty transfers?
Glitter and specialty films often require slightly lower temps and longer times to avoid texture damage. Check product pages like our Glitter DTF Transfers for specifics.
Ready to print?
When you want reliable, press-ready transfers printed in Tempe, Order online: https://fivestardtf.com/product/dtf-transfers/ or visit us for local pickup at 305 S Rockford Dr Ste B, Tempe, AZ 85281. We offer fast same-day printing, free shipping on orders over $100, and no minimums for small businesses.
Summary
Use 300–350°F depending on fabric weight, 10–20 seconds, and medium to medium-high pressure as your baseline. Test every substrate, record settings, and tweak temperature or time in 5°F or 2–3 second increments. With a consistent workflow you’ll get vivid, durable DTF prints on hoodies every time.
Conclusion
Here’s the thing, hoodies are forgiving when you prep and press with intention. Follow these tested settings, keep good records, and you’ll reduce reprints and shipping delays. For creators and small brands wanting same-day service and expert support, Five Star DTF prints press-ready transfers in Tempe and ships nationwide quickly.
About Five Star DTF
Five Star DTF is Arizona’s leading provider of
DTF transfers, Glitter DTF prints, UV DTF stickers,
and Sublimation transfers — offering same-day printing, fast nationwide shipping,
and convenient local pickup in Tempe, Arizona.
We proudly serve Tempe, Scottsdale, Phoenix, Mesa, Gilbert, Chandler, and all of Arizona,
helping creators, apparel brands, small businesses, and print shops produce premium, press-ready transfers with
vivid color, soft stretch, and long-lasting durability.
There are no setup fees, no minimum orders, and turnarounds are always fast.
Our Top Products
- DTF Transfers
- Glitter DTF Transfers
- UV DTF Stickers
- Sublimation Transfers
- Press Instructions & Tips
- Contact & Local Pickup
Artwork Help
Need your artwork cleaned, fixed, resized, or made print-ready? We offer background removal, vectorizing, color correction, and gang sheet layout.
Ready to Print?
Order DTF Transfers or
Upload Your Artwork to get started today.
All orders over $100 ship free — printed in Tempe, AZ and shipped statewide and nationwide.